


12 Yard Skip Hire for Multi-Room Renovations
Sarah Baker• 04.11.2026

Why Timing Your Waste Removal Can Make or Break Your Project
Last Tuesday morning in March, I stood in what had once been Mrs Henderson's front room in Beverley, watching three builders argue over a skip that was already three-quarters full. We'd barely touched the kitchen, the bathroom upstairs was still intact, and yet somehow we'd managed to cram eleven cubic yards of Victorian lath and plaster into a container meant to handle waste from four rooms. The project was meant to run for six weeks. We were three days in.
That mistake taught me everything I know about sequencing multi-room renovation waste. The problem wasn't the skip size, it was the order we tackled the rooms and how we thought about what goes where when. A 12 yard skip hire can handle most multi-room projects, but only if you understand the weight and bulk patterns of different materials. Plasterboard from a ceiling weighs more per square metre than you'd expect, old floorboards take up space but weigh relatively little, and kitchen units fall somewhere in between. Get the sequence wrong and you'll either fill your skip too fast with lightweight bulk or max out the weight limit before you've cleared half your planned rooms.
The Weight Problem Everyone Misses
Most people think about skip capacity in terms of how full it looks. That's the first mistake.
I learned this the hard way on a cottage renovation in Stamford two summers ago. We'd planned to gut three bedrooms and a bathroom with one 12 yard skip, thinking we were clever by starting with the heaviest items first. Wrong approach entirely. The old cast iron bath went in on day one, followed by two radiators and a pile of concrete blocks from a knocked-through wall. Skip looked half empty but the driver couldn't lift it.
Weight limits matter more than volume most of the time. A 12 yard skip typically maxes out at around 8 tonnes, depending on your skip company's vehicle specs. Dense materials like concrete, tiles, and metal fixtures eat into that allowance fast, while timber and plasterboard are more about bulk than weight.
Planning Your Room Sequence
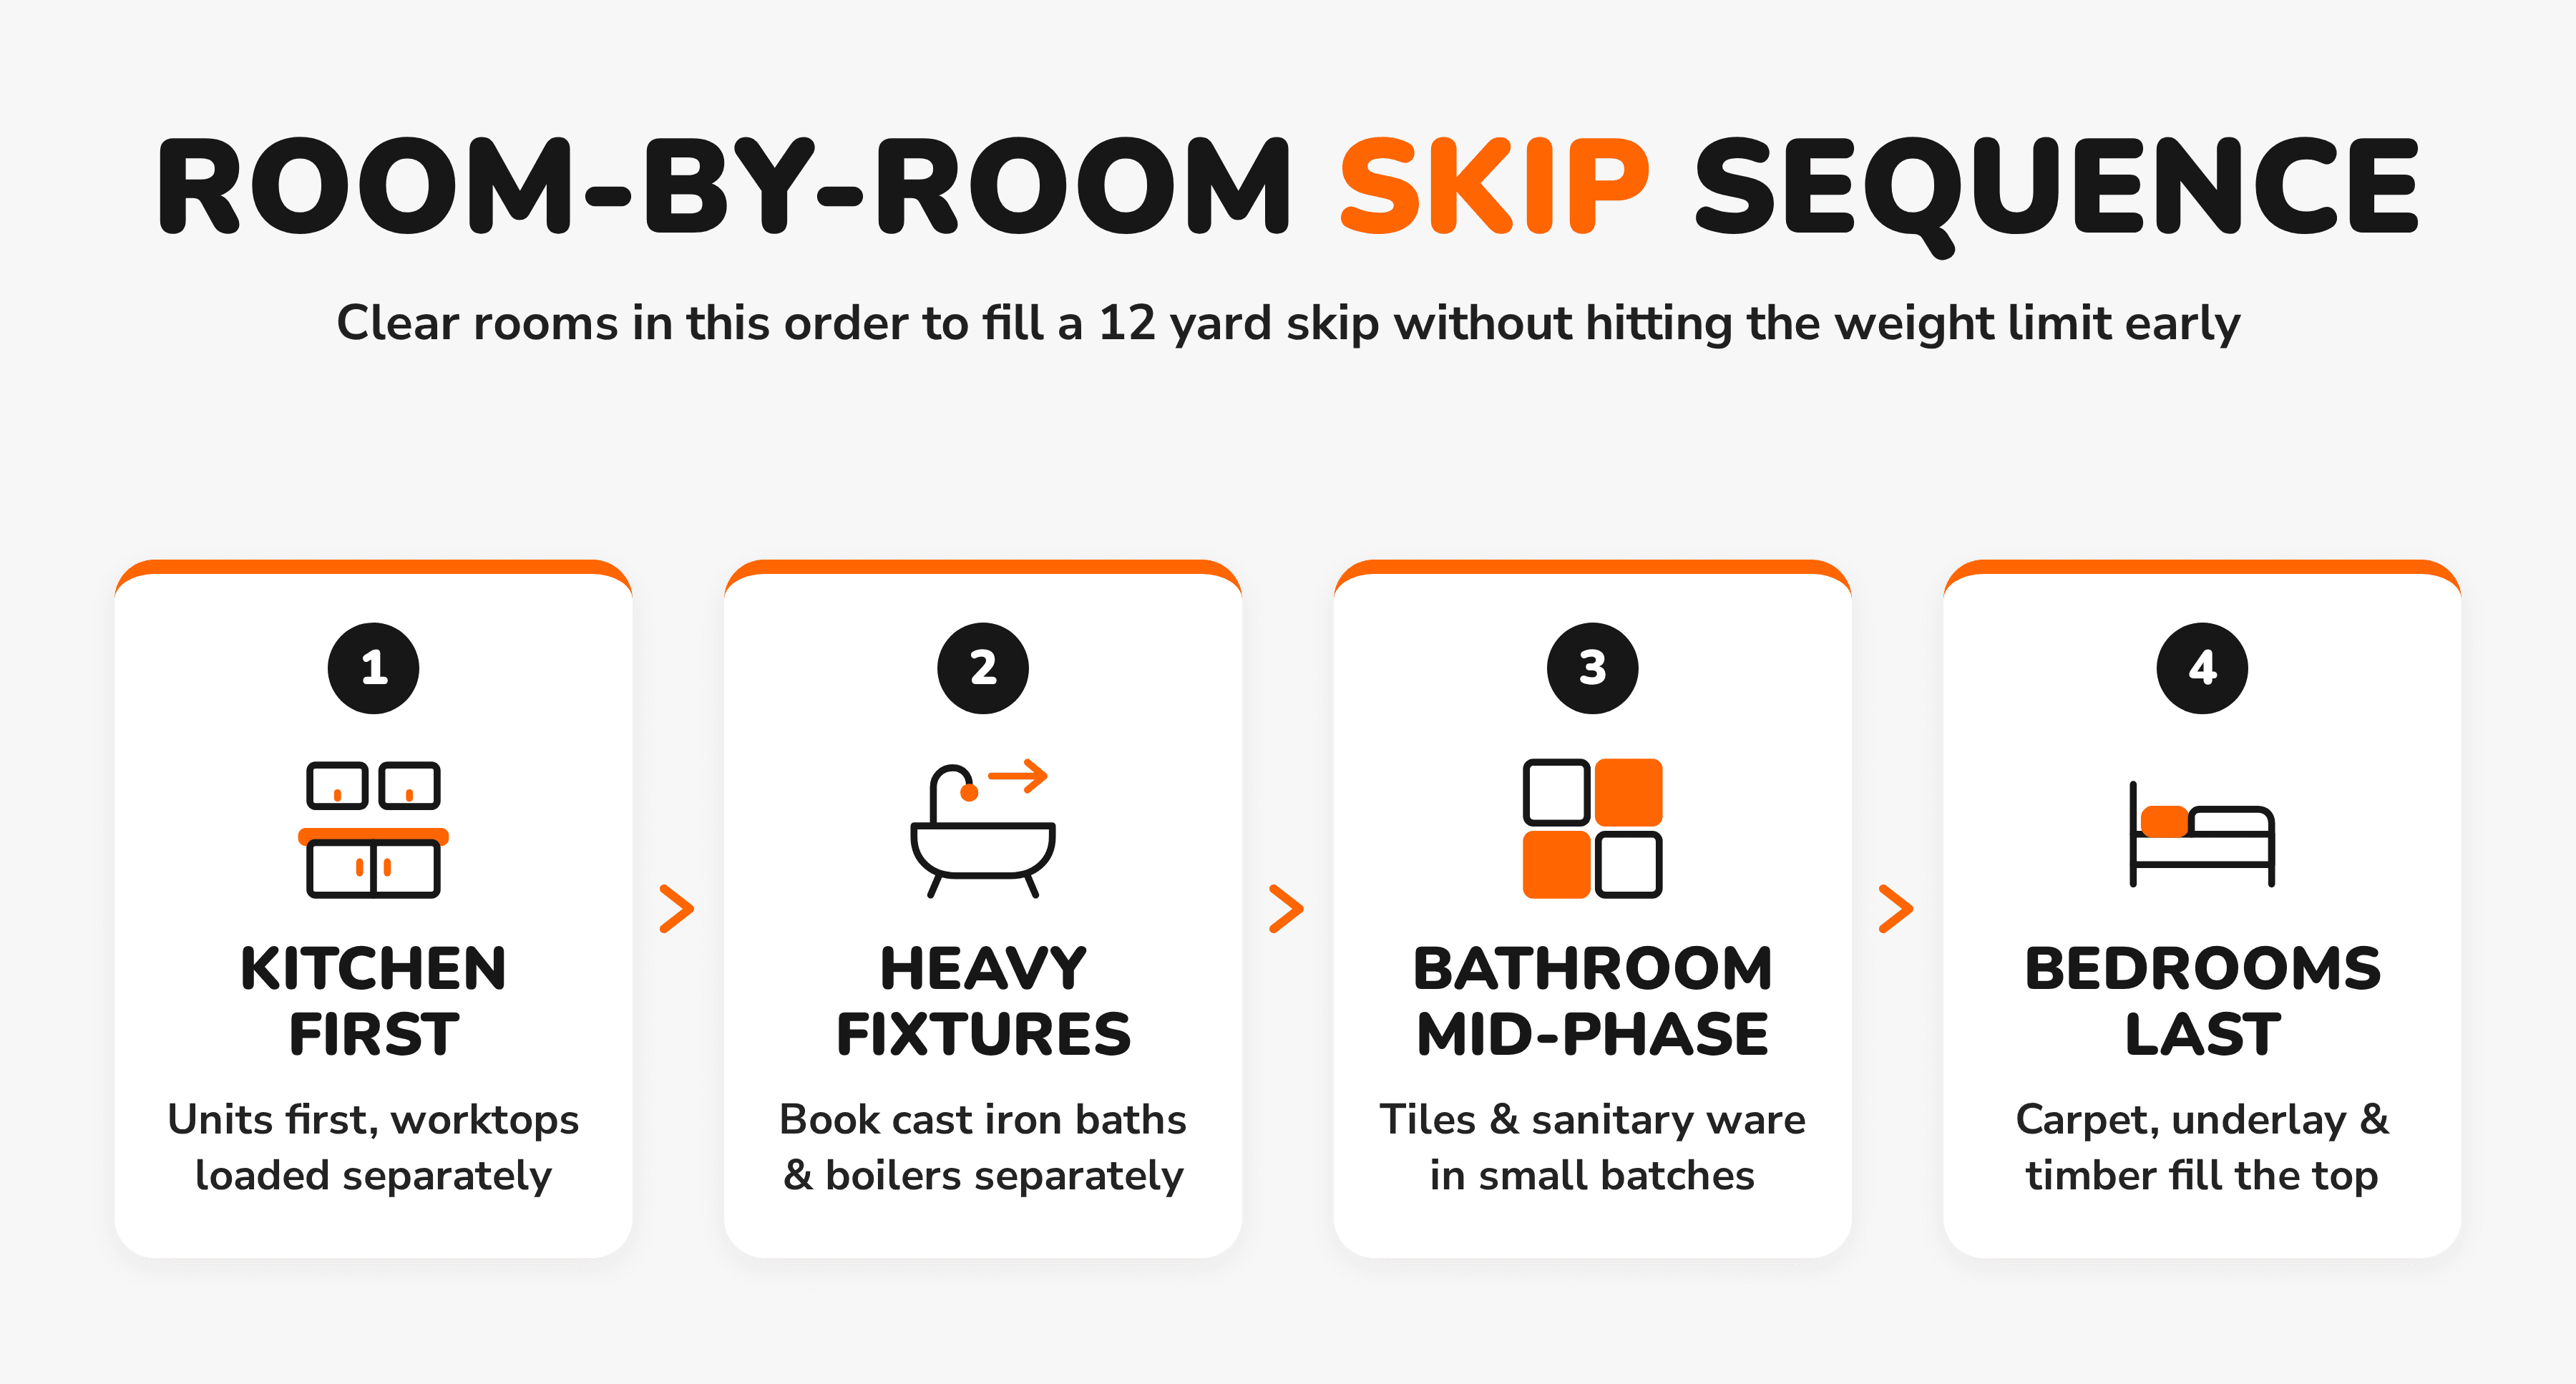
The trick is mapping your rooms by what comes out of each one, then arranging the removal order so the skip fills efficiently without hitting weight limits early.
Start with rooms that generate the most mixed waste. Kitchens work well as first targets because you get a combination of lightweight cabinets, medium-weight appliances, and small amounts of heavy material like tiles or worktops. This gives you a good base layer in the skip without loading too much weight at the bottom.
Bathrooms come next in my sequence, but only after you've removed the heaviest fixtures separately:
Book a separate collection for cast iron baths and old boilers
Remove ceramic tiles in batches, not all at once
Keep sanitary ware for the middle phase when you've got room but need some weight
Bedrooms and living spaces work best in the final phase because they generate mostly lightweight materials. Carpets, old furniture, and timber from built-ins fill the remaining volume without pushing you over weight limits.
Understanding Material Density
Every material has its place in the loading sequence. Dense materials go in first, but only in controlled amounts.
On a project in Melton Mowbray last October, I watched a team load an entire bathroom floor worth of ceramic tiles in one go. That's roughly 180 tiles from a standard bathroom, weighing about 800 kilograms total. Into the skip first thing Monday morning, leaving them scrambling to fit lightweight waste around the edges for the rest of the week.
Better approach is spreading dense materials across the loading period. Few tiles Monday, some concrete Tuesday, bit more ceramic Wednesday. This keeps the skip's centre of gravity manageable and leaves room for efficient packing around the edges.
The Kitchen Cabinet Strategy
Kitchen removals need their own tactics because the waste comes in predictable patterns.
Wall cabinets first, always. They're mostly air and thin panels, perfect for creating a foundation layer that won't compress much under later loads. Base units follow, but remove the worktops separately. Granite and solid wood tops are dense enough to cause problems if they go in at the wrong time.
I keep appliances until day three or four of a project. White goods are awkward shapes that waste space if loaded early, but they're perfect for filling odd gaps once you've established your waste layers. A fridge-freezer dropped into a corner can anchor other materials and make better use of the skip's cubic capacity.
Timing Your Ceiling and Wall Removals
Structural waste creates the biggest planning challenges because it comes off in large pieces you can't easily control.
Victorian lath and plaster ceilings are the worst for this. When they come down, they come down fast and in chunks that are mostly air but surprisingly heavy with all that horsehair and lime mortar. I learned to schedule ceiling work for midweek, when I've got some base material in the skip but plenty of volume remaining.
Modern plasterboard is more predictable but creates its own problems. Sheets from a standard bedroom ceiling don't weigh much individually, but fifteen sheets stacked flat take up enormous space for their weight. Break them smaller or stand them on edge to maximise your skip's capacity.
If you need help working out proportions for different room types, resources that help you choose the right skip size room by room can guide your material calculations before you commit to removal schedules.
Flooring Removal Timing
Floors generate different challenges depending on what's under your feet.
Carpet and underlay should go in last, or close to it. They compress well around other materials and weigh almost nothing, making them perfect gap-fillers for the final loading phase. Wooden floors depend on the timber type and fixing method. Tongue-and-groove boards that lift in long planks can be bundled efficiently, while parquet or engineered floors that come up in small pieces are better mixed in with other materials to avoid wasted space.
Ceramic and stone floors need the most careful timing. Schedule them for mid-project when you've got established layers but haven't filled more than half your skip volume. The weight adds up fast, but if you wait too long, you won't have space to fit them efficiently around other waste.
Managing Multiple Skip Collections
Sometimes the math doesn't work for a single 12 yard skip , no matter how well you sequence the work.
Large renovation projects often need two collections rather than trying to cram everything into one container. I usually plan the split at the two-thirds point in the timeline, not when the skip looks full. This gives me flexibility to handle unexpected waste volumes and ensures I'm not rushing the final phase because I'm running out of space.
The cost difference between one 12-yard skip and two smaller collections is often less than you'd expect, especially when you factor in the time saved by not having to coordinate perfect loading sequences. Companies like easyskip.uk often offer competitive rates for multiple collections that can make the logistics much simpler.
For comparison across different container sizes, checking every skip size compared side by side helps determine whether splitting your renovation skip planning across two smaller skips might work better than managing one large container through multiple phases.
Practical Loading Techniques
How you physically load materials affects capacity almost as much as when you load them.
Heavy items go in first, but positioned to support later loads rather than just dumped in the middle. Place dense materials like tiles or concrete blocks around the skip's edges where they can act as retaining walls for lighter waste. This stops everything sliding into a heap that wastes the upper volume. Layer systematically rather than throwing everything in randomly. Flat materials like plasterboard and timber create stable platforms for irregular shapes. Bag waste goes in the gaps, not as foundation layers where it'll compress and create air pockets.
Keep one corner accessible until late in the loading process. You'll always have oddly-shaped items that need careful positioning, and if you fill the skip evenly from all sides, you lose the manoeuvrability to place final items efficiently.
Start your first room removal on a Wednesday or Thursday rather than Monday morning. This gives you time to adjust your sequence if the initial waste volumes don't match your planning, and ensures you're not facing a weekend with a full skip and three rooms still to clear.